Details
Everything you need to treat 30m (4kw array/16 solar panels), save 15% on component prices
- Includes wire mesh, 60 specialist retaining clips, stainless steel corner ties and cutting tool
- Keeps pigeons and other pest birds out from under solar panels on pitched roofs
- 100% effective when properly installed, better than using spikes, chicken mesh or repellent gels
- Does not pierce roof or solar panel, no leaks no warranty issues with panels
- Fast and easy to install, no gluing or drilling necessary
- Please note – cheaper kits on the internet are sold with inch x inch mesh which is much weaker and is an inferior product
- Not to be confused with the kits that are sold with glue on clips that can fall off after installation!
The solar panel kit contains.
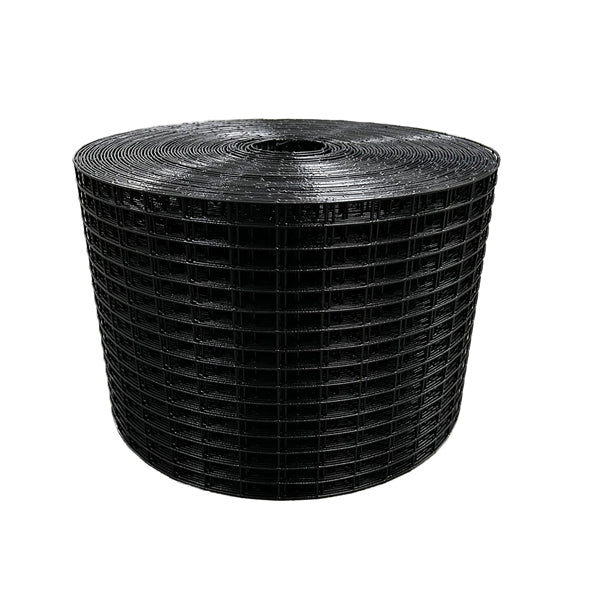
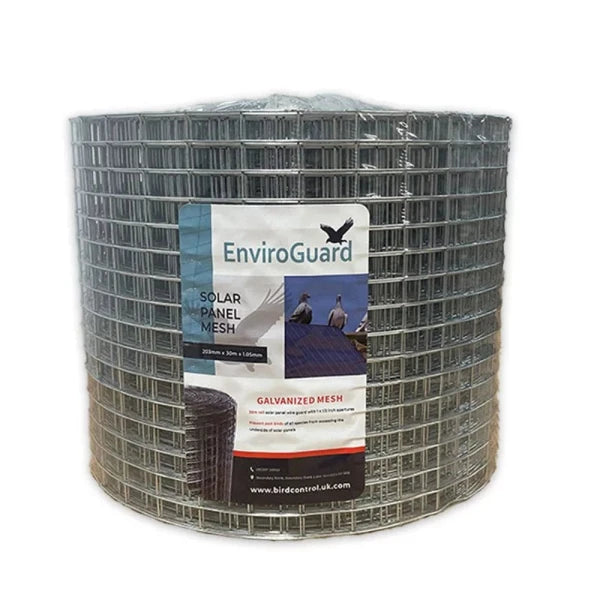
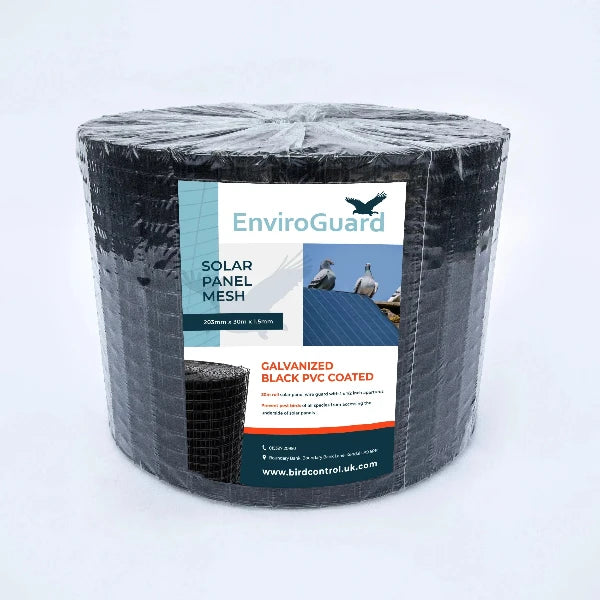
- 30 Meter Galvanized Solar Panel Weld Mesh Roll
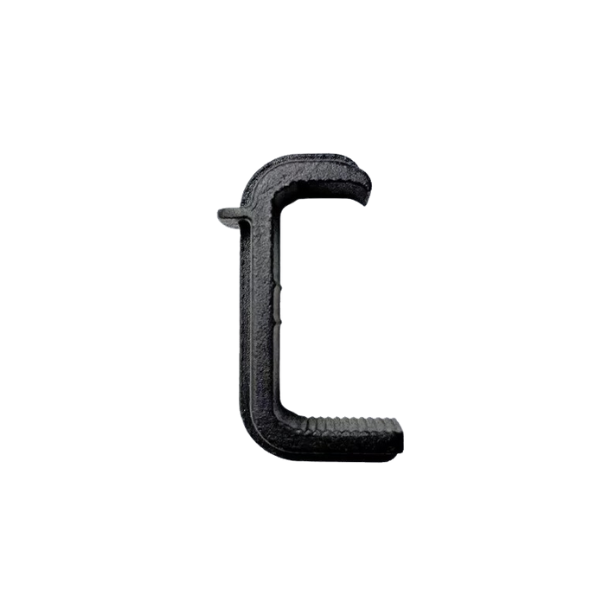
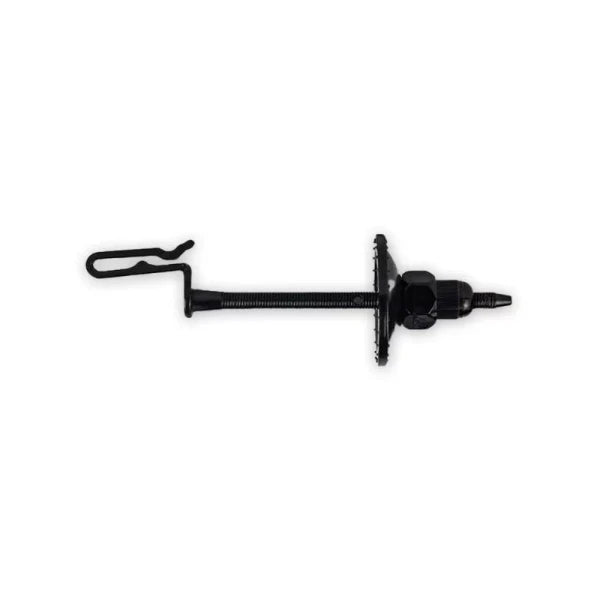
- 60 Solar Panel Mesh Clips
- 1 Pair Professional Aviation Snips
- 1 Pack Stainless Steel Corner Ties
- Installation instructions included in the box
Weldmesh is manufactured from: 18 gauge / 1.05 mm diameter hot dipped galvanised wire.
Mesh Size: 25 mm X 12.5 mm (1″ X 1/2″) (Please note cheaper kits on the internet are sold with inch x inch mesh which is much weaker)
Roll Width: 30 cm
Roll Length: 30 m
Solar Panel Clips are manufactured from U.V.-stabilized polycarbonate and have self-locking nuts that are adjusted by hand for ease on the roof
Corner ties are stainless steel for both galvanised and stainless steel kits
Where to Use: Rooftop solar panel arrays
Target Bird: All species
Bird Pressure: All levels
Installation: Wire mesh is bound to solar panels using patent-pending clips
Expertise Level: Easy
Usage:
Solar panels are being installed on commercial and residential roofs across the UK. These arrays provide perfect harbourage for birds, and homeowners are desperate for a solution that does not involve piercing or damaging the solar panels with mechanical fixings or adhesives, hence avoiding warranty issues.
This innovative system is designed specifically to keep all birds from getting under solar arrays, protecting the roof, wiring, and equipment from damage.
A typical solar panel is approximately 1.6m tall and 1m wide, on a typical panel one should use 3 clips on each long edge and 2 clips on each short edge. See the diagram attached to this product listing for more details and an example of a typical installation.
This non-penetrating system is fast and easy to install, does not void warranties and can be removed for servicing.
Installation Instructions
- The galvanized mesh is in 30 cm wide rolls and comes in 30 M lengths.
- Cut the roll into 1.6 M sections (or length of the longest side of a panel), it is much easier to work with shorter lengths.
- Bend up two to three squares of the mesh to about a 45 degree angle (see illustrations below). This helps to lock the mesh snugly to the roof, this can easily be done over flat edge by hand.
STEP 1: Place clips every 18 inches. Slide the clip onto the edge of the panel support bracket. Slide as far outward as possible so the clip is all the way on the lip of the panel.
STEP 2: Set the wire mesh screen in place. Make sure the fastener rod comes through the screen at an upward angle as to keep downward pressure on the screen.
STEP 3: Slide the speed washer onto the shaft of the clip assembly until snug. Make adjustments to the screen as necessary. Tighten speed washer to panel edge and add the lock nut.
STEP 4: Cut off any excess mesh screen sticking over the top edge of the solar panel array. Cut of the clip assembly rod flush with the exterior of the speed washer. Use metal shears
Datasheet
No datasheet available for this product. Please call 0800 0016 802 for more information.